
| Back to Library page | |
Hoffman Princeton Reverb Board Build |
|
|
The Layout Diagram Schematic and BOM for this board are on this page You can ask questions about this board on my forum here I have some YouTube videos of this amp in action here |
|
|
Note that Hoffman boards are not assembled by looking at my builds. I do test builds first and change the designs based on those builds. You assemble Hoffman boards using the documents listed below. The Layout Diagram, Schematic and BOM for this board are on this page |
|
| Click on the images to see a larger image | |
 |
|
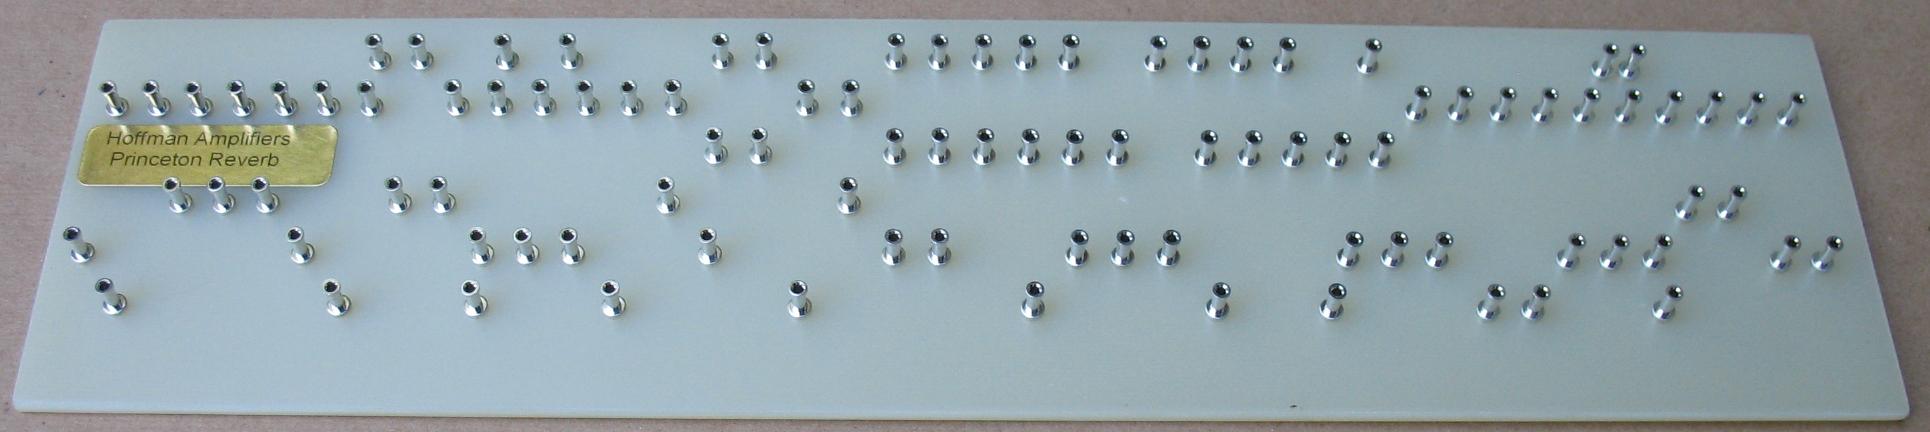
| This is the board with the Turret lugs swaged onto the board |
|
| - | |
| Click on the images to see a larger image | |
 |
|
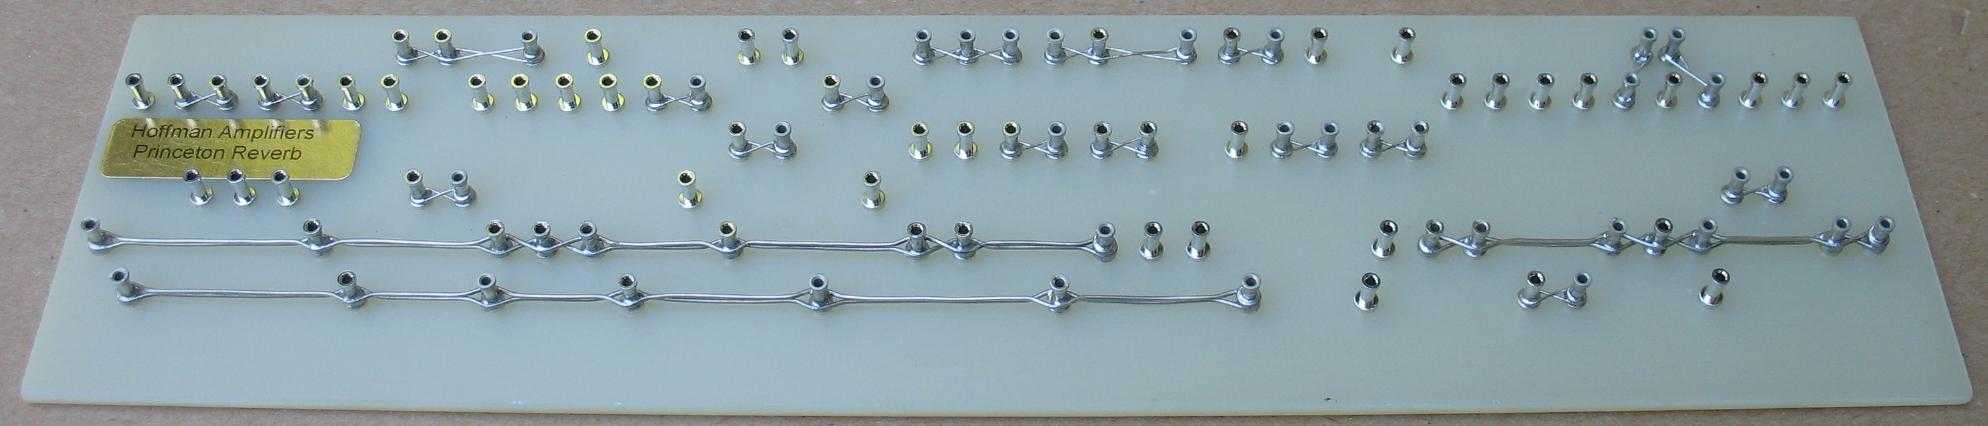
| The lugs have been laced and soldered I had to modify the board, it was too long to fit into the chassis. I eliminated the 2 x 100 ohm resistors at the right end of the board. The resistors will be installed on the back of the Fender lamp assembly like vintage Fenders |
|
| - | |
| Click on the images to see a larger image | |
 |
|
| On the back of the board there are 3 jumper wires |
|
| - | |
| Click on the images to see a larger image | |
 |
|
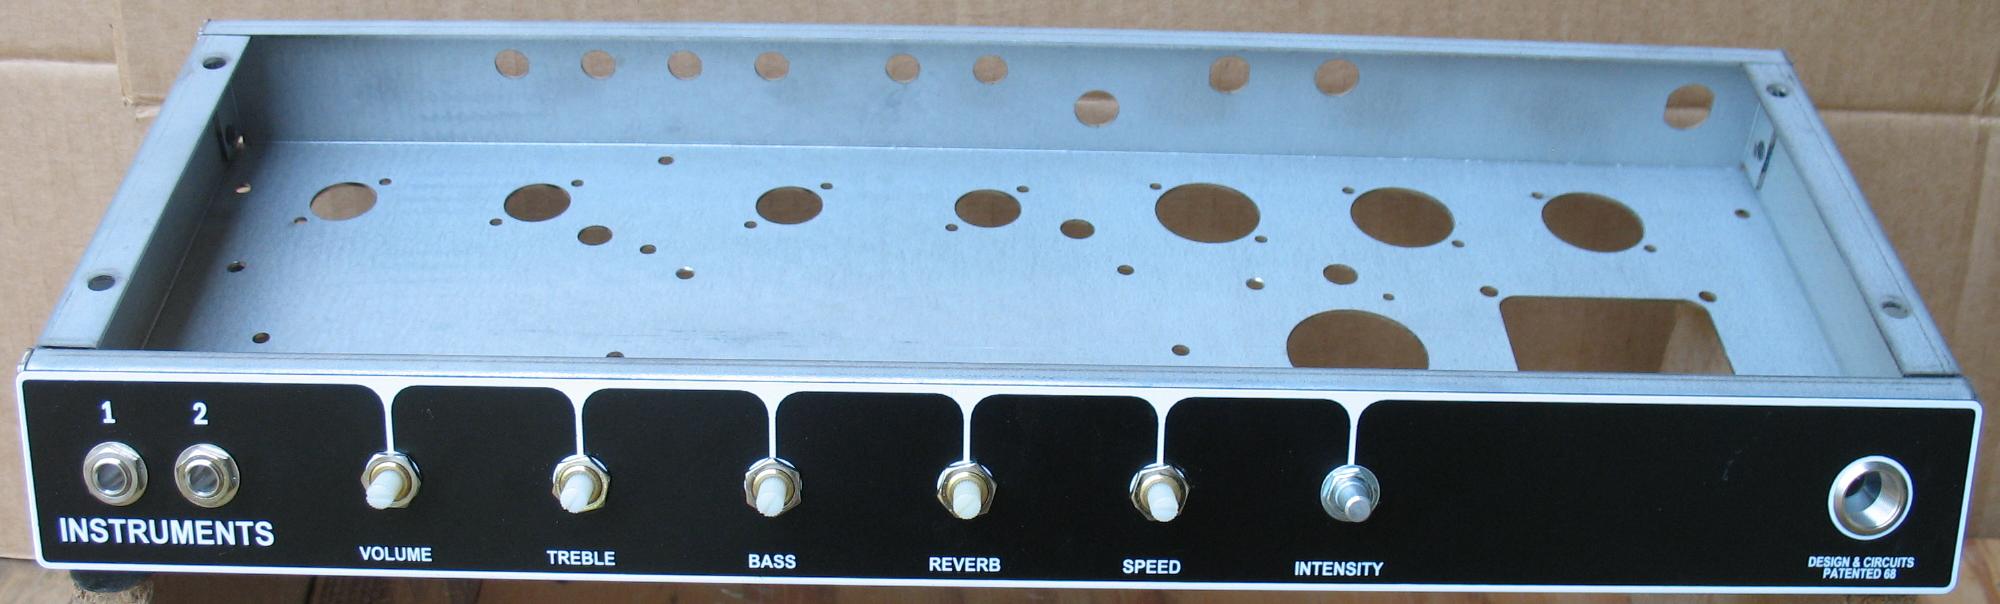
| The blank Princeton Reverb Chassis with the face panel and parts installed |
|
| - | |
| Click on the images to see a larger image | |
 |
|
| The buss wire has been soldered down the back of the pots |
|
| - | |
| Click on the images to see a larger image | |
 |
|
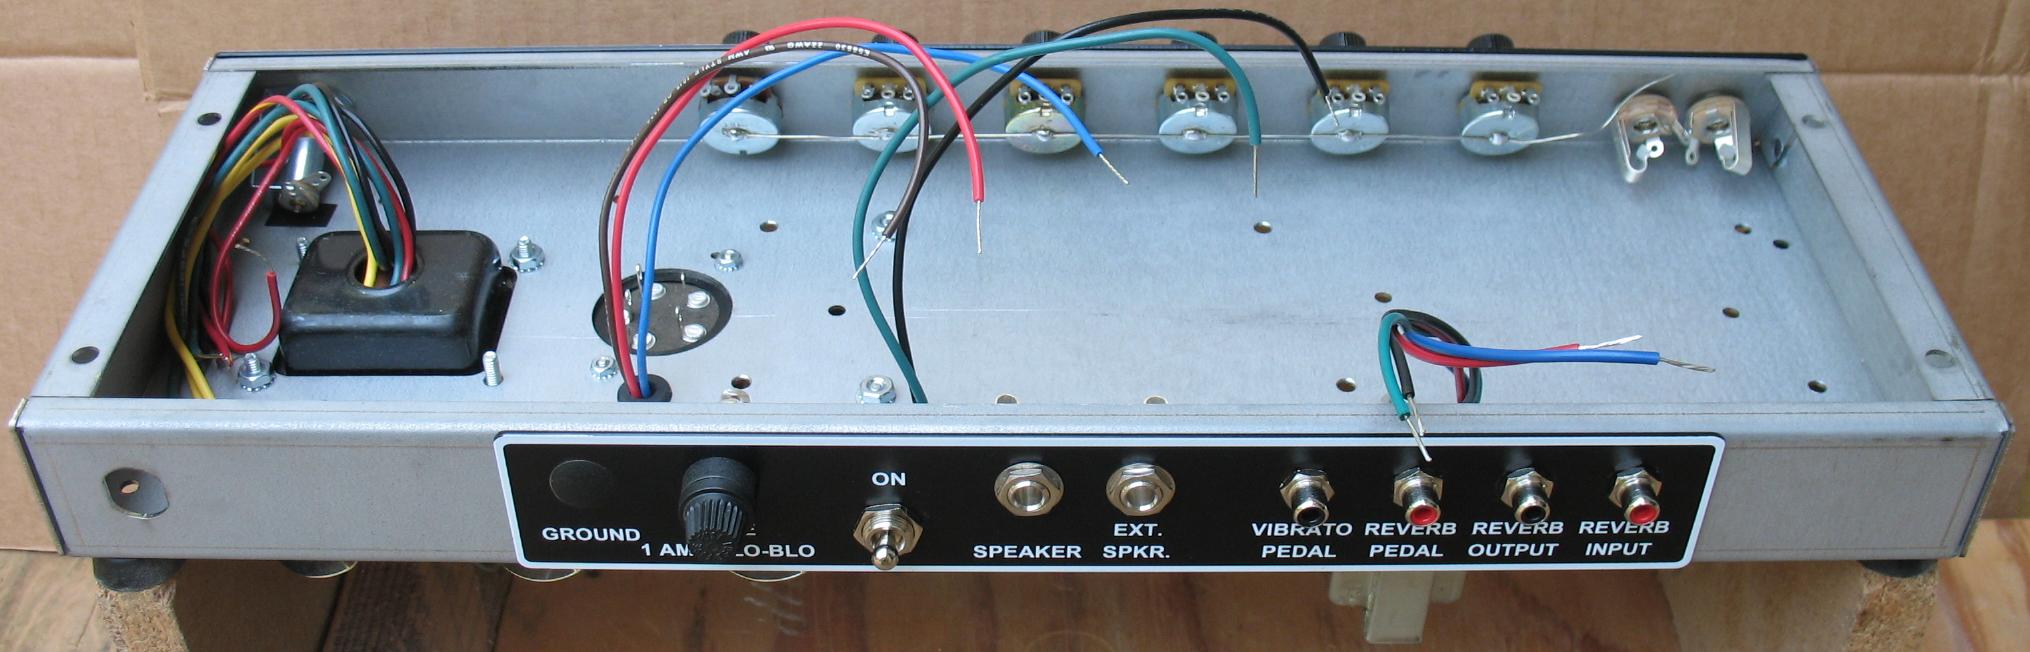
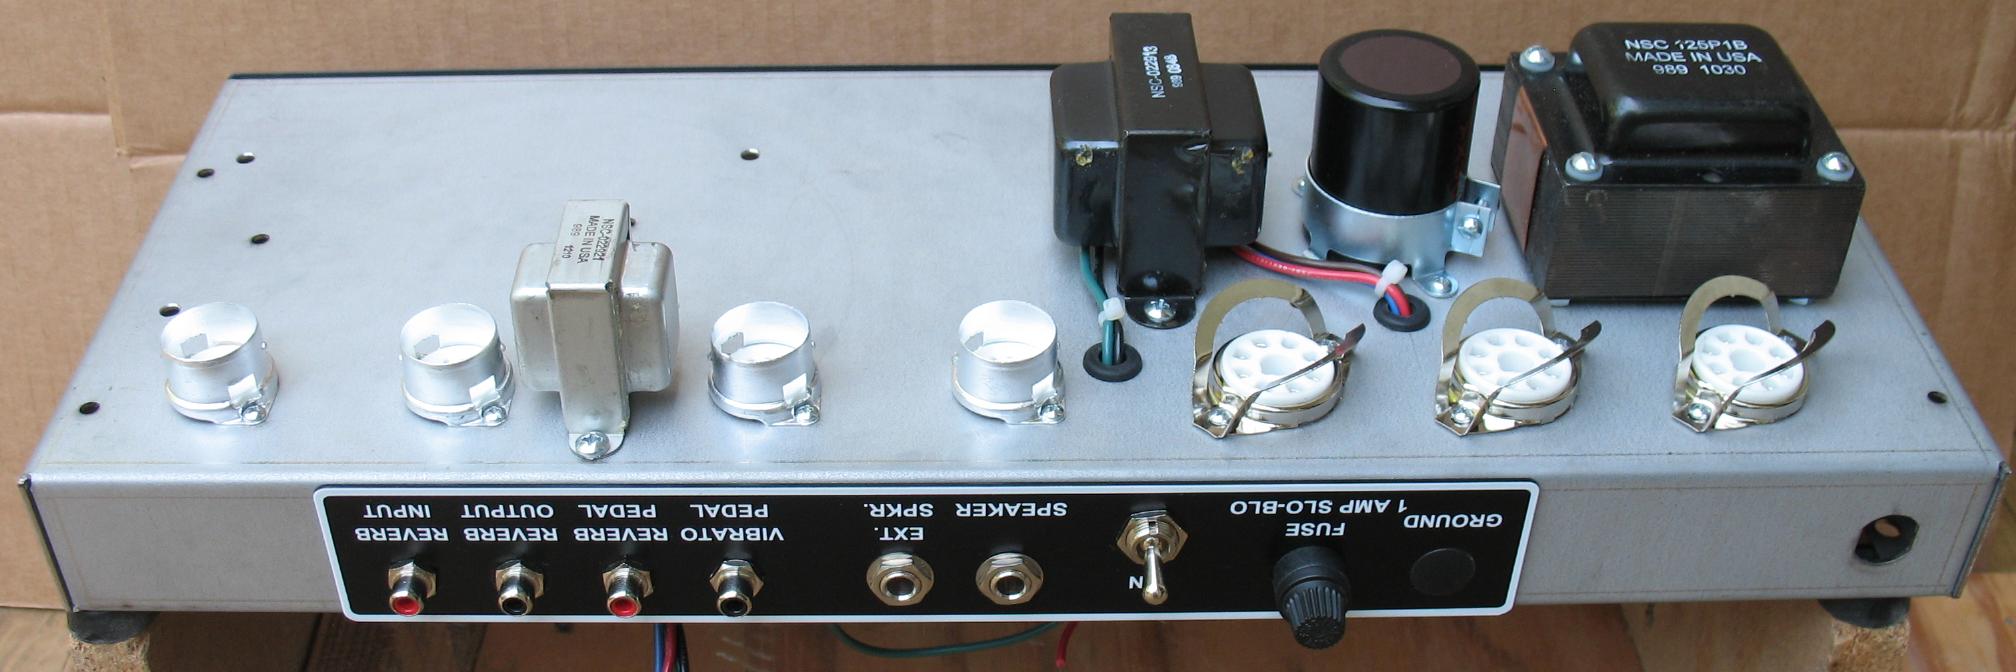
| The rear panel and all the parts have been installed All bolt on parts have been installed Tube sockets, Transformers, Jacks, On/Off Switch, Fuse holder, Filter cap I blocked off the ground switch hole with a hole plug |
|
| - | |
| Click on the images to see a larger image | |
 |
|
| All bolt on parts have been installed Tube sockets, Transformers, Jacks, On/Off Switch, Fuse holder, Filter cap |
|
| - | |
| Click on the images to see a larger image | |
 |
|
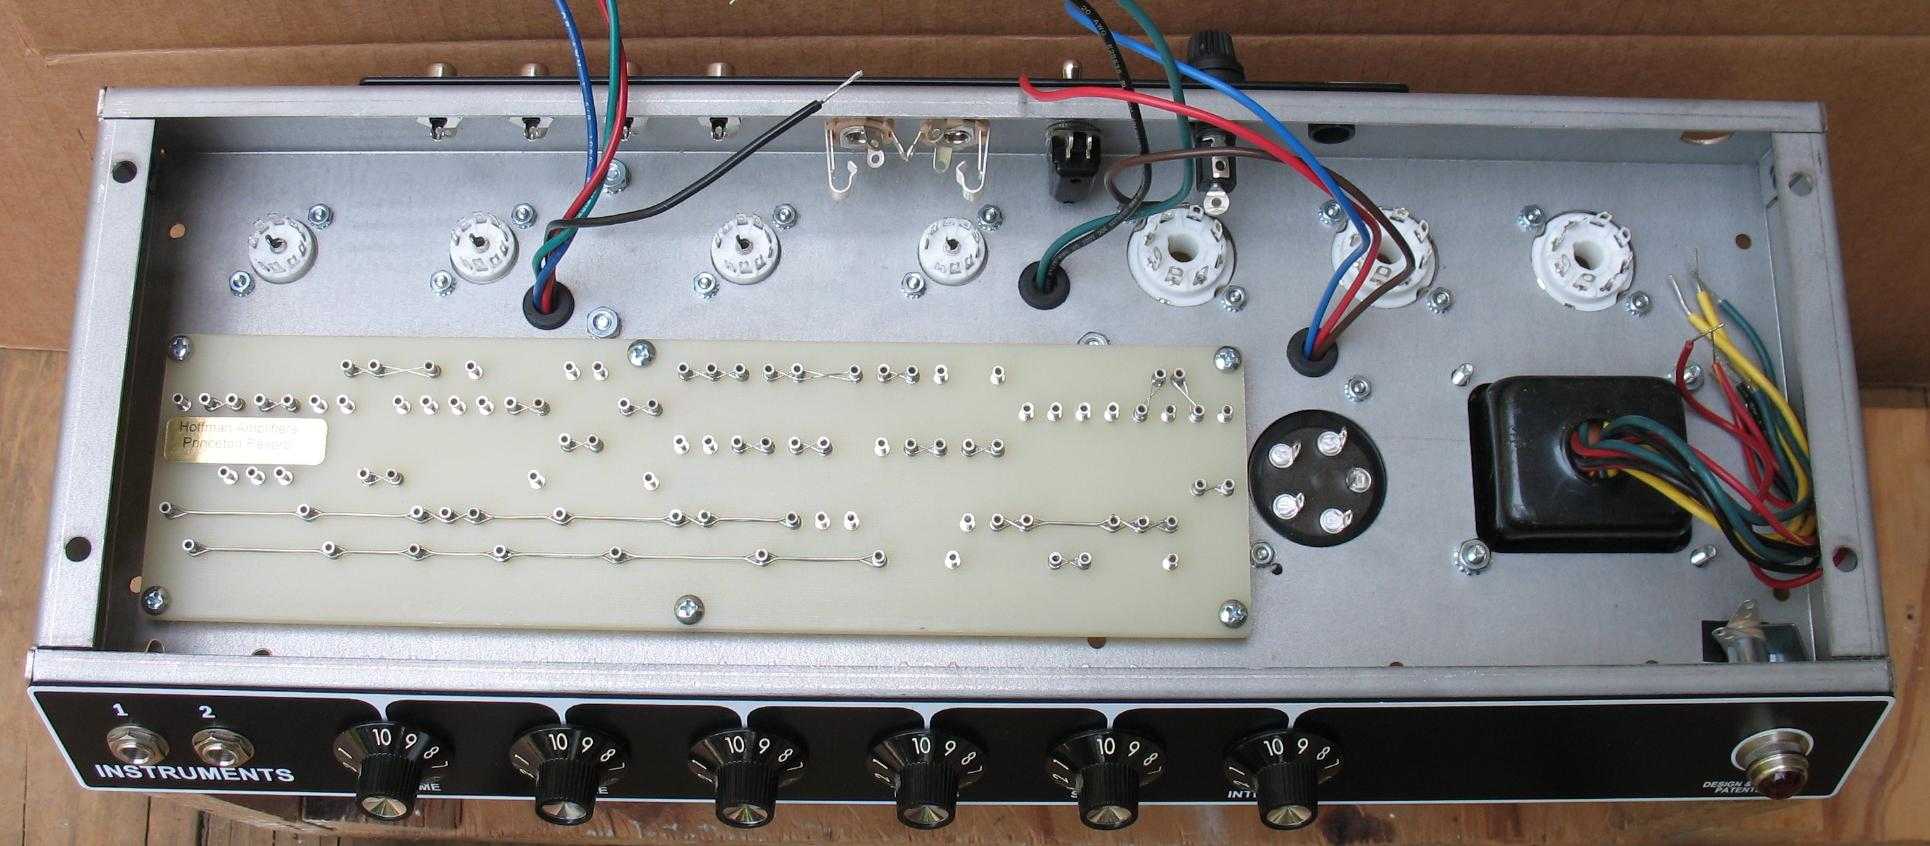
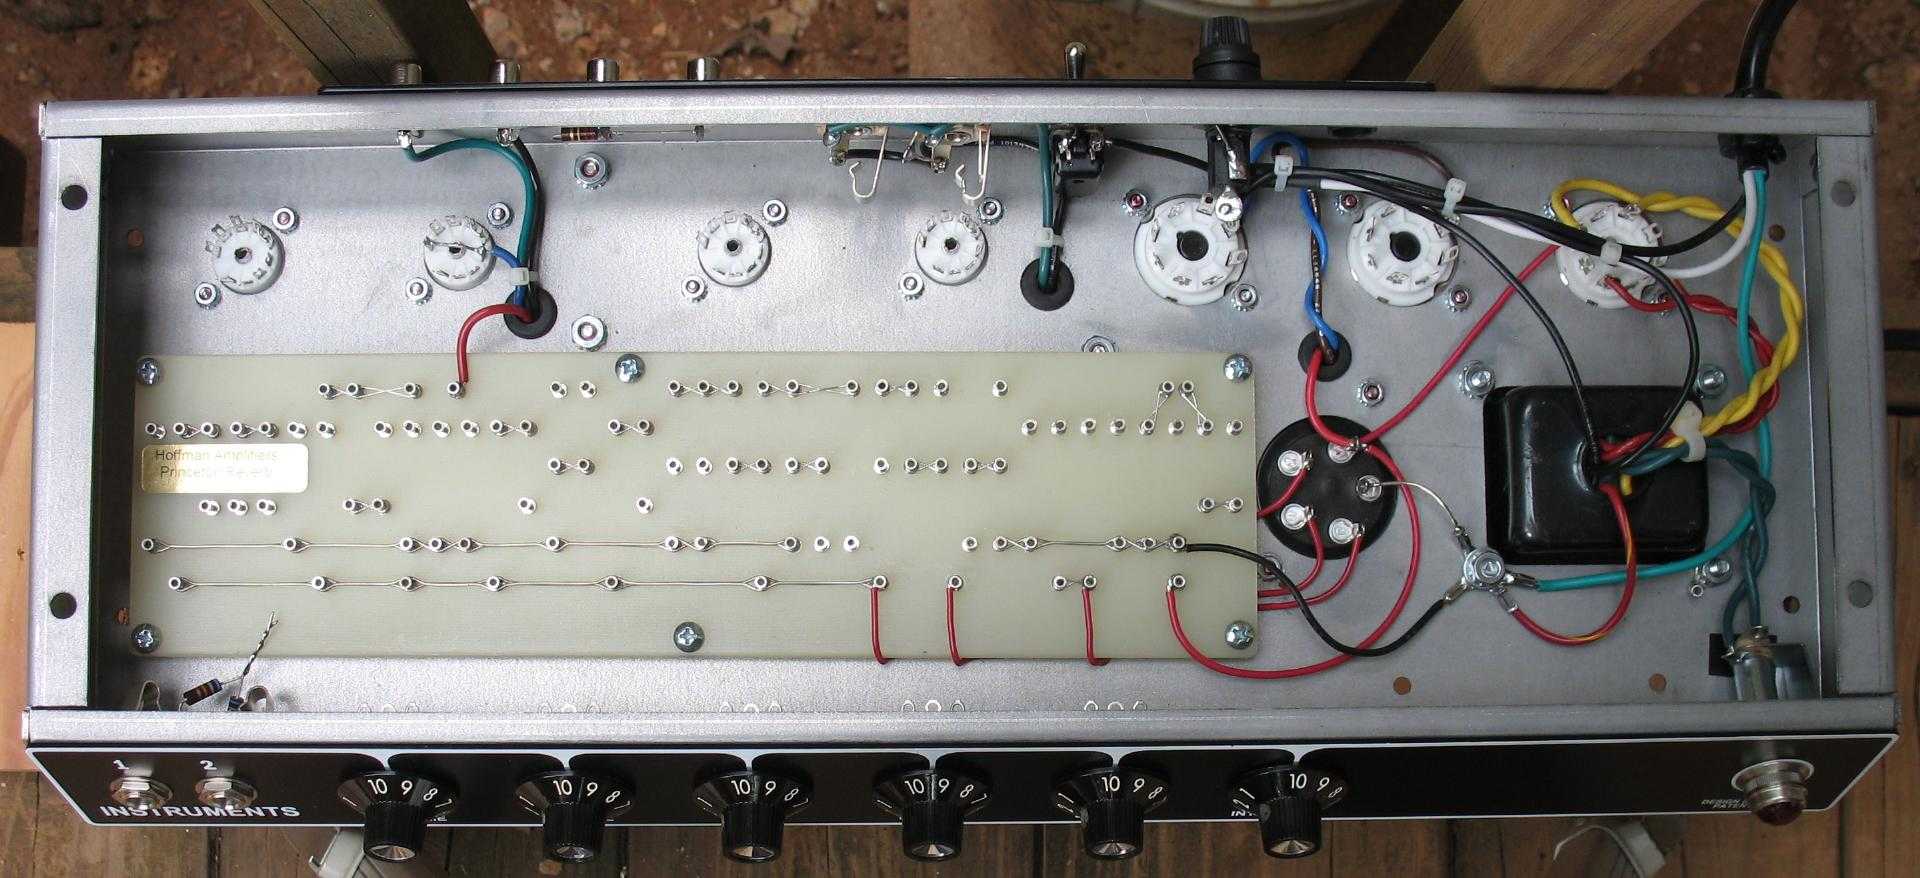
| Top View: The board has been mounted This is the modifies board with the 2 x 100 ohm resistors removed The new boards will all look like this board |
|
| - | |
| Click on the images to see a larger image | |
 |
|
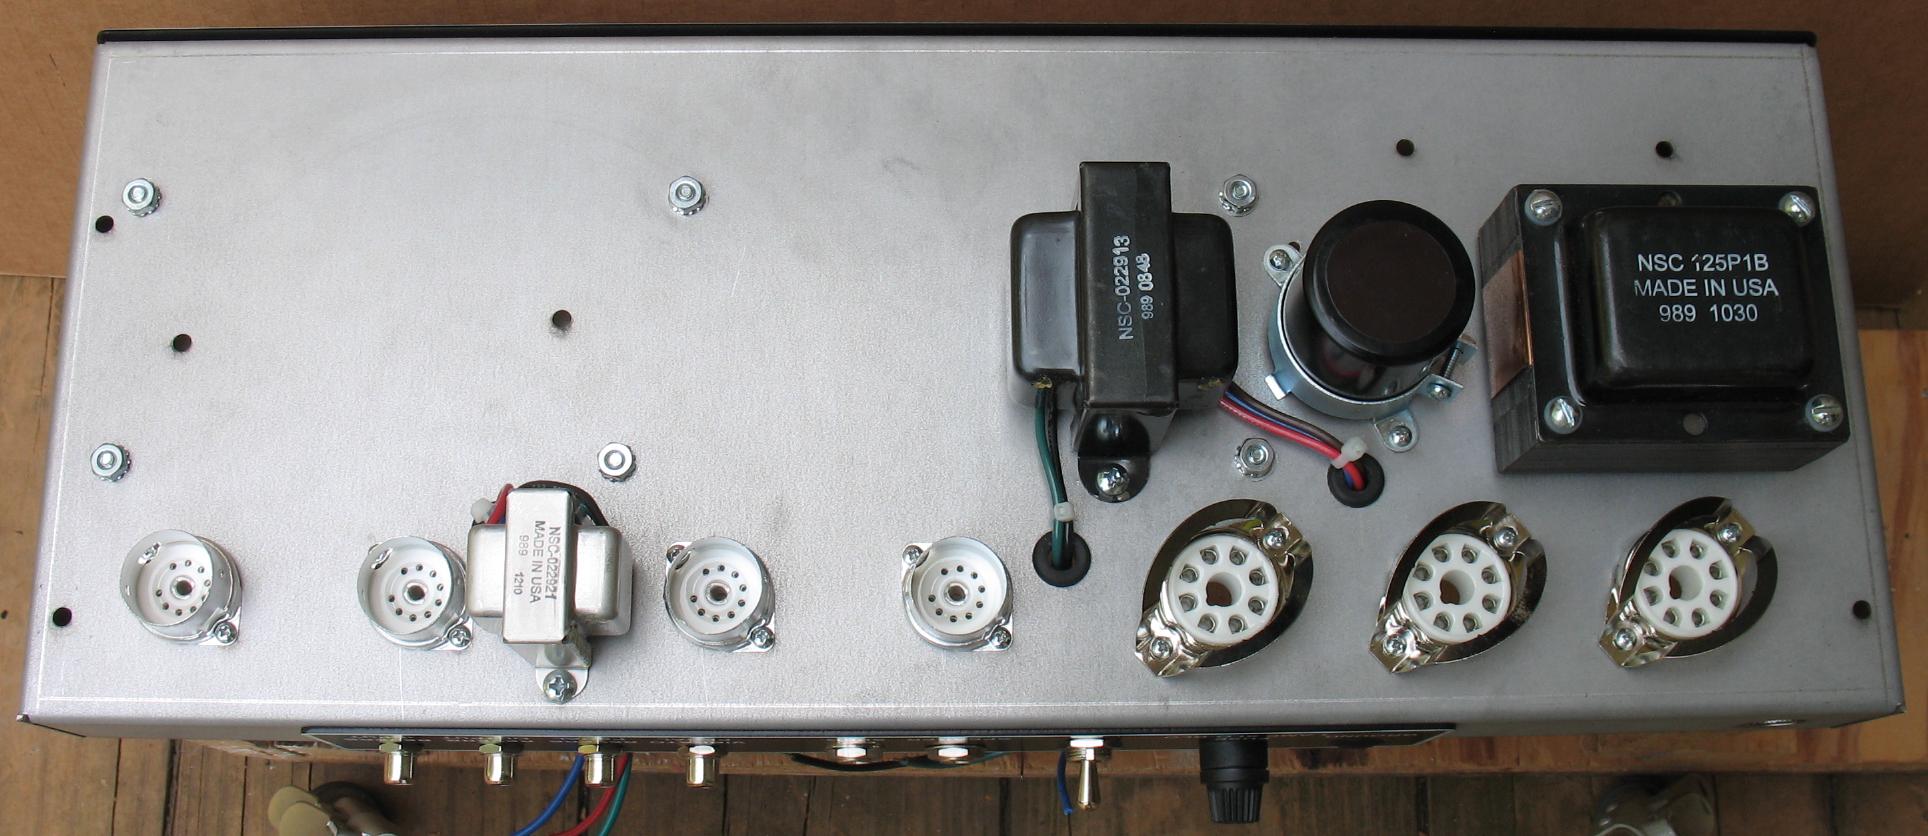
| Bottom View |
|
| - | |
| Click on the images to see a larger image | |
 |
|
| Bottom View |
|
| - | |
| Click on the images to see a larger image | |
 |
|
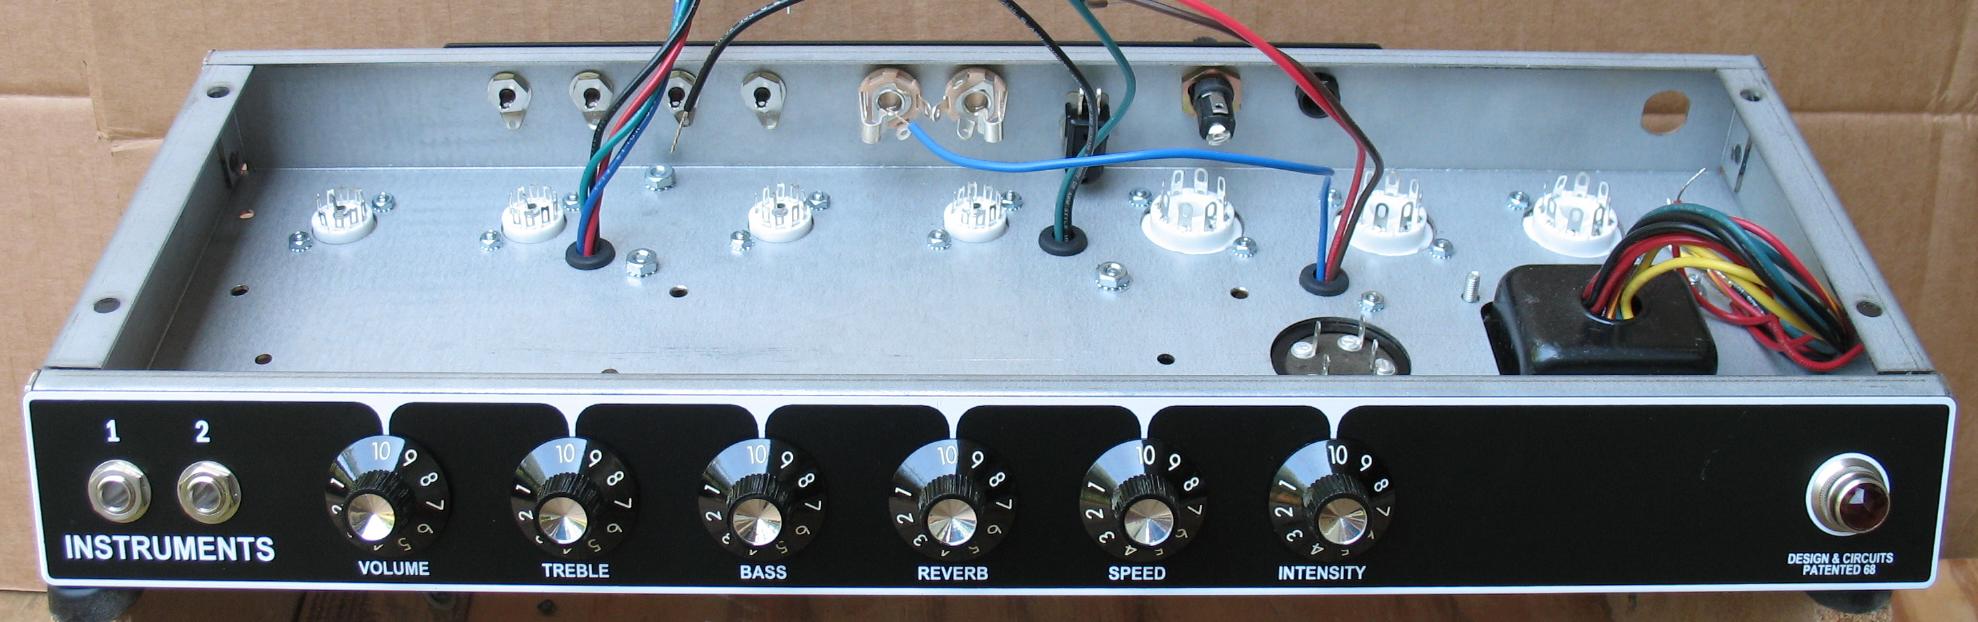
| Got a bunch of the infrastructure wiring completed |
|
| - | |
| Click on the images to see a larger image | |
 |
|
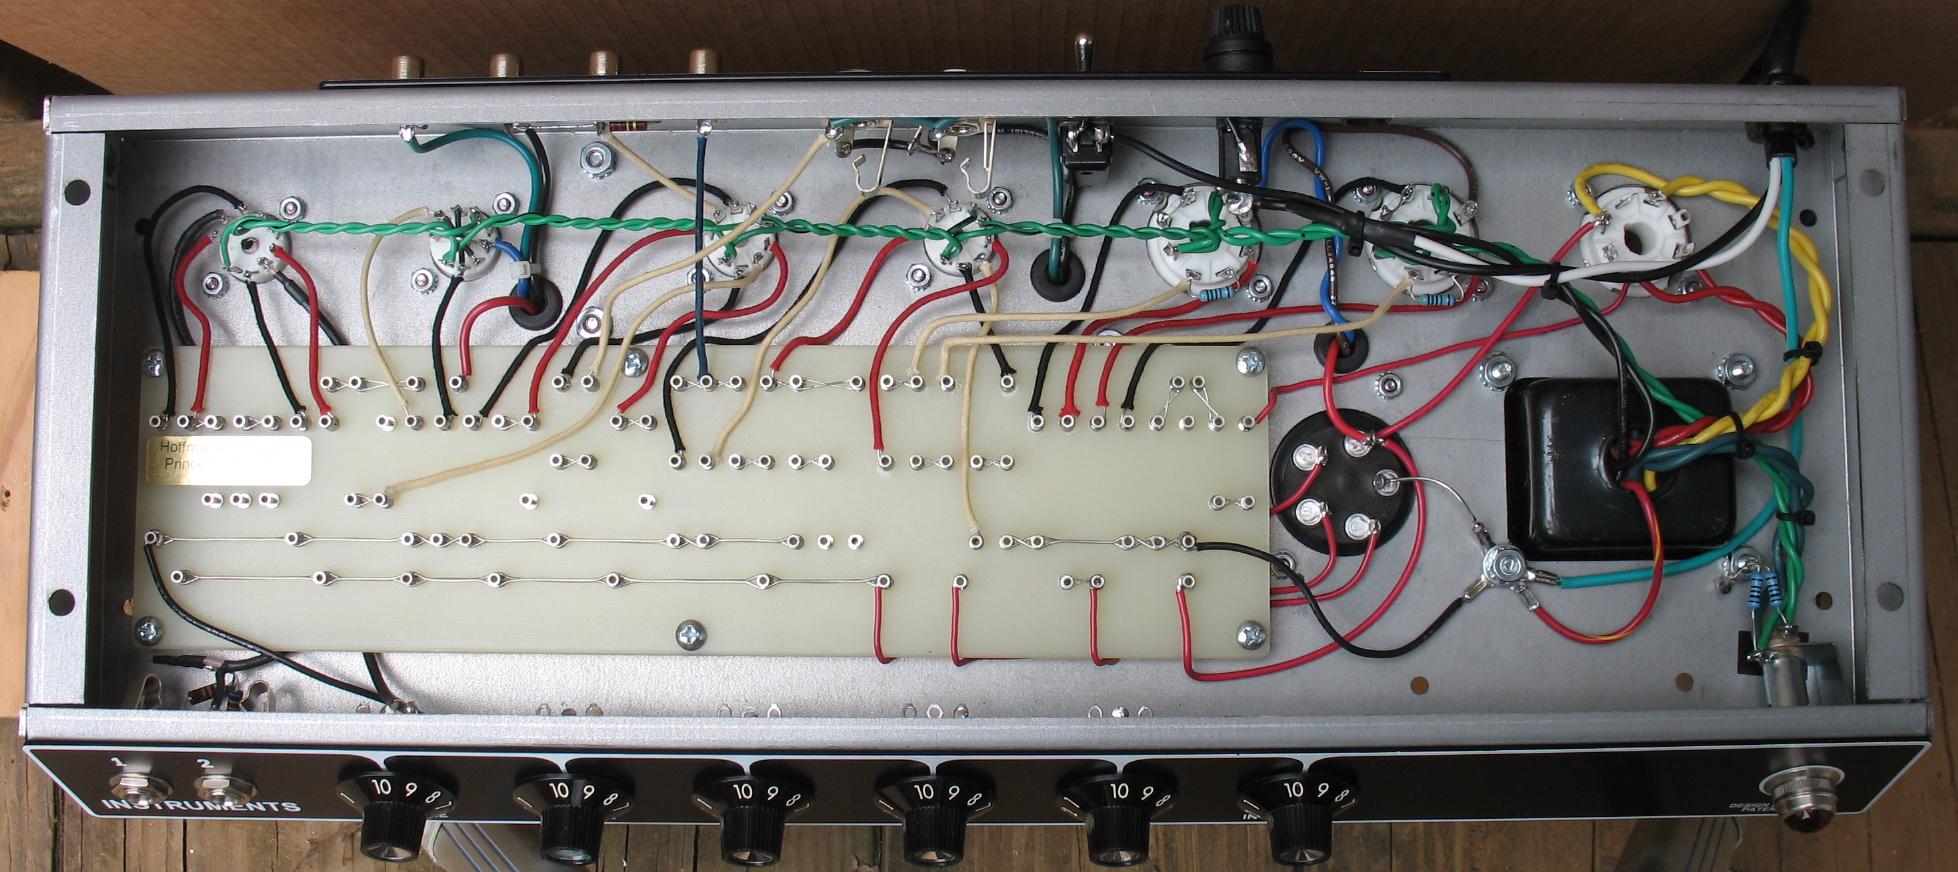
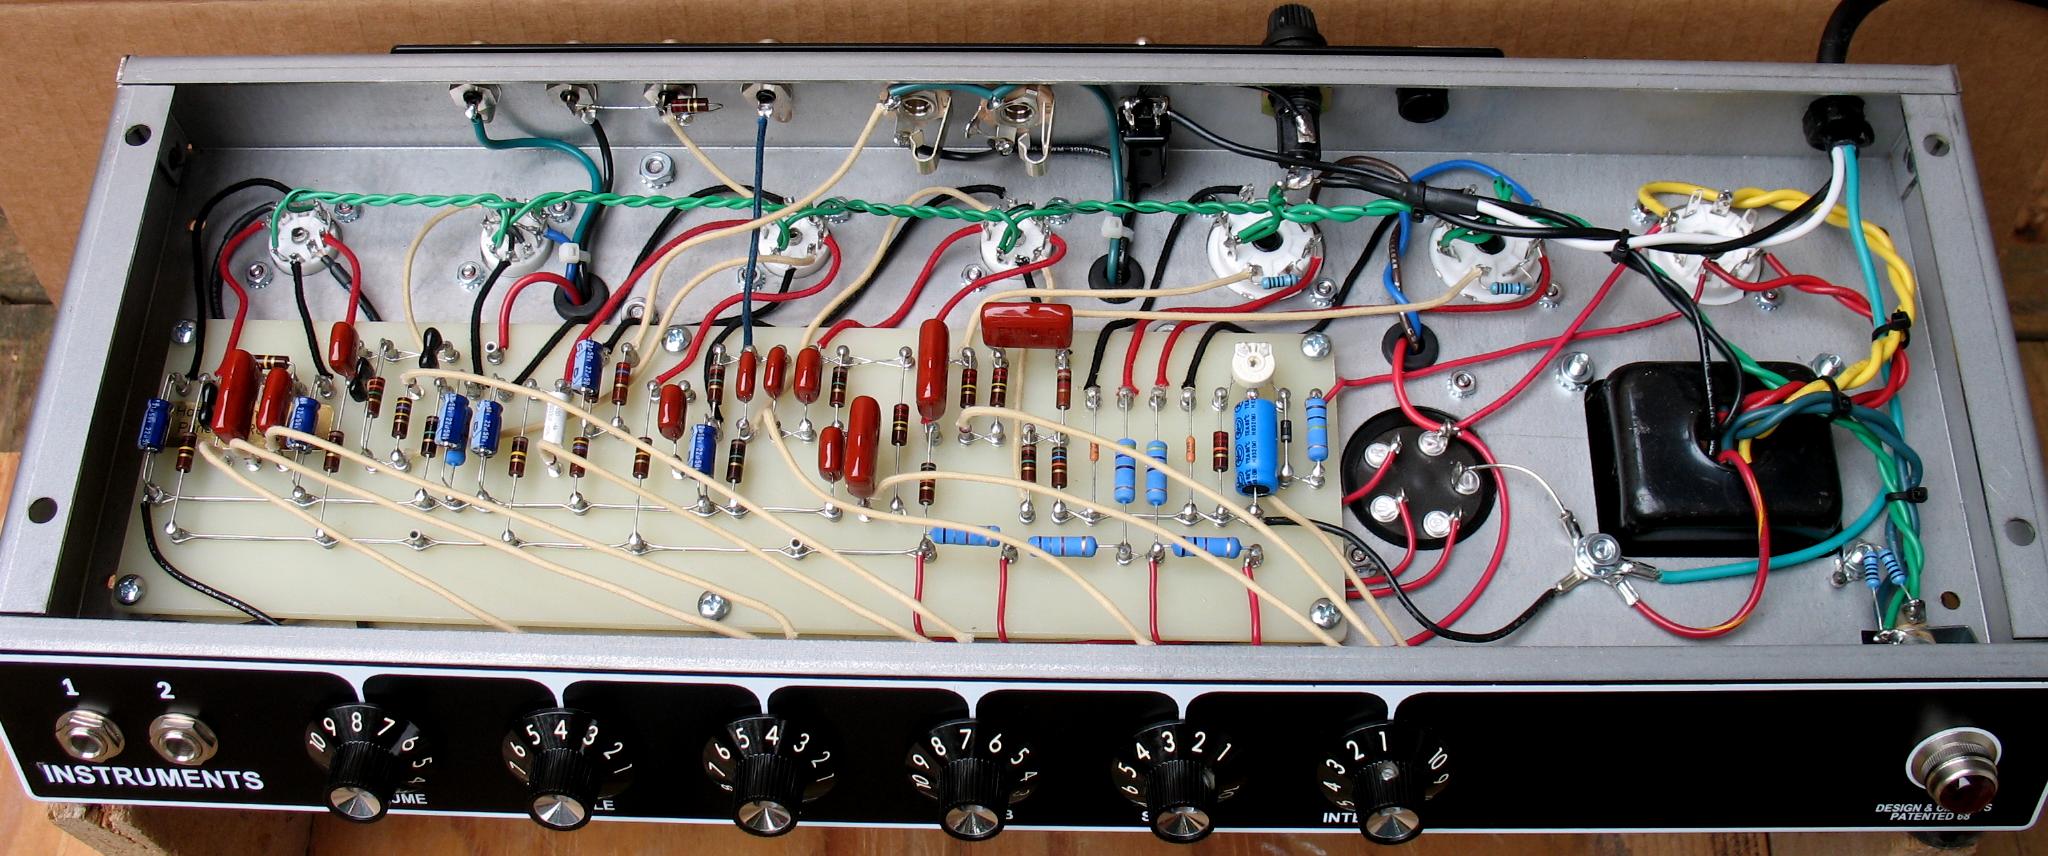
| Cloth wire has been installed from the board to the tube sockets The heater wires have been installed |
|
| - | |
| Click on the images to see a larger image | |
 |
|
| Cloth wire has been installed from the board to the tube sockets The heater wires have been installed |
|
| - | |
| Click on the images to see a larger image | |
 |
|
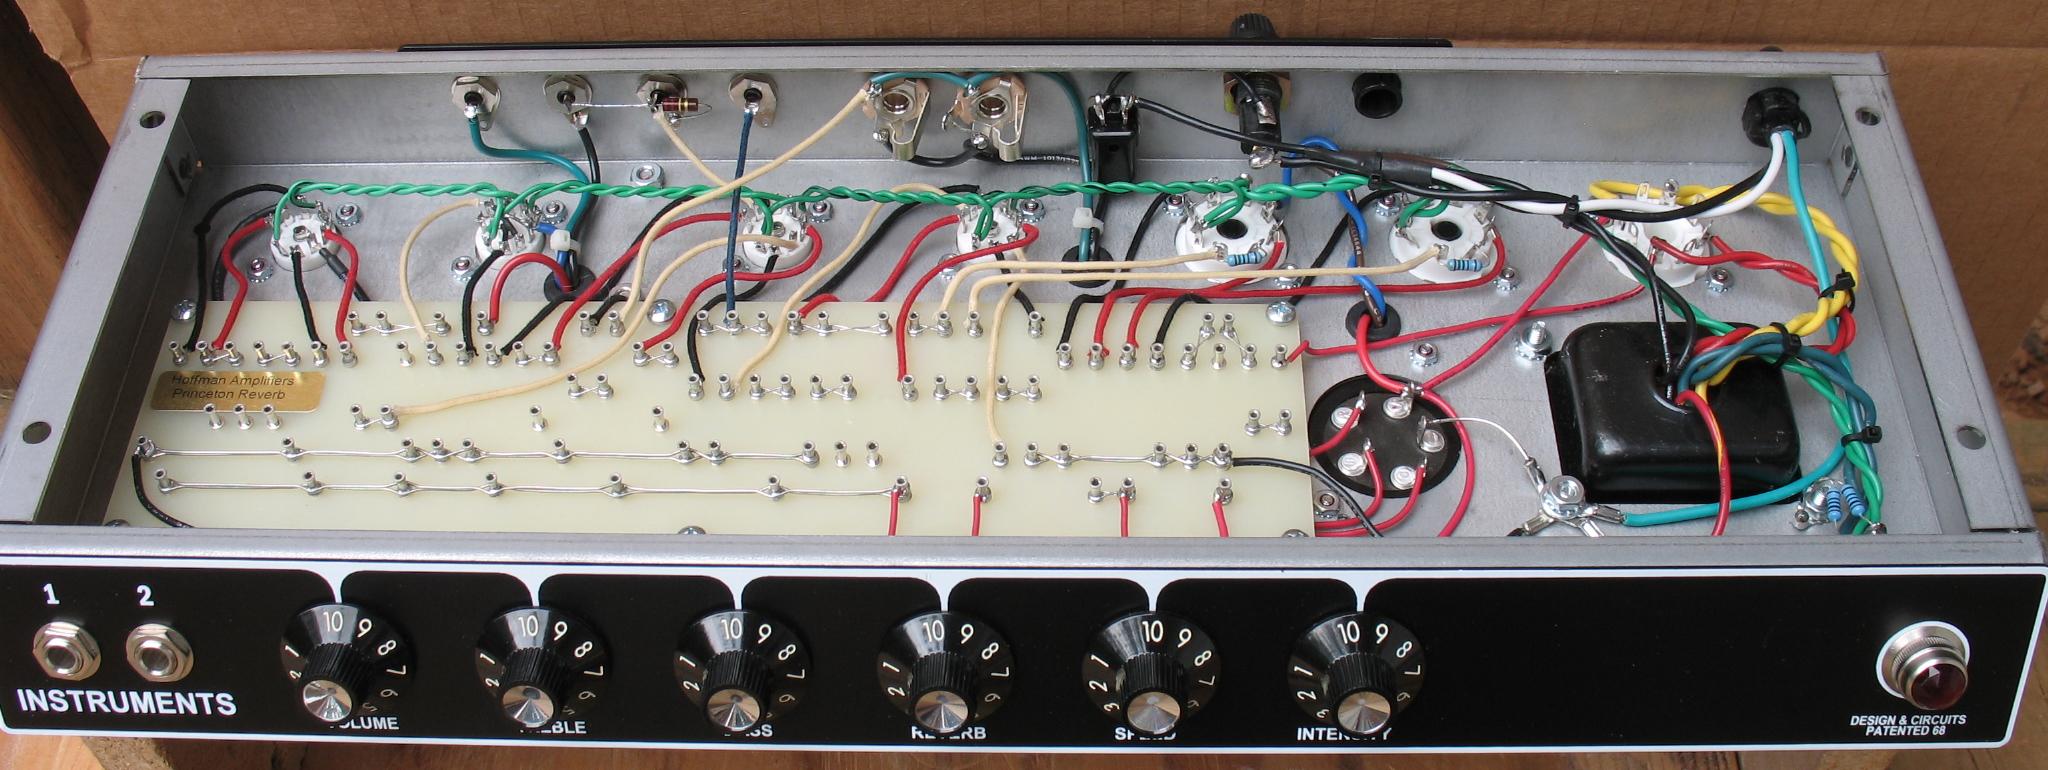
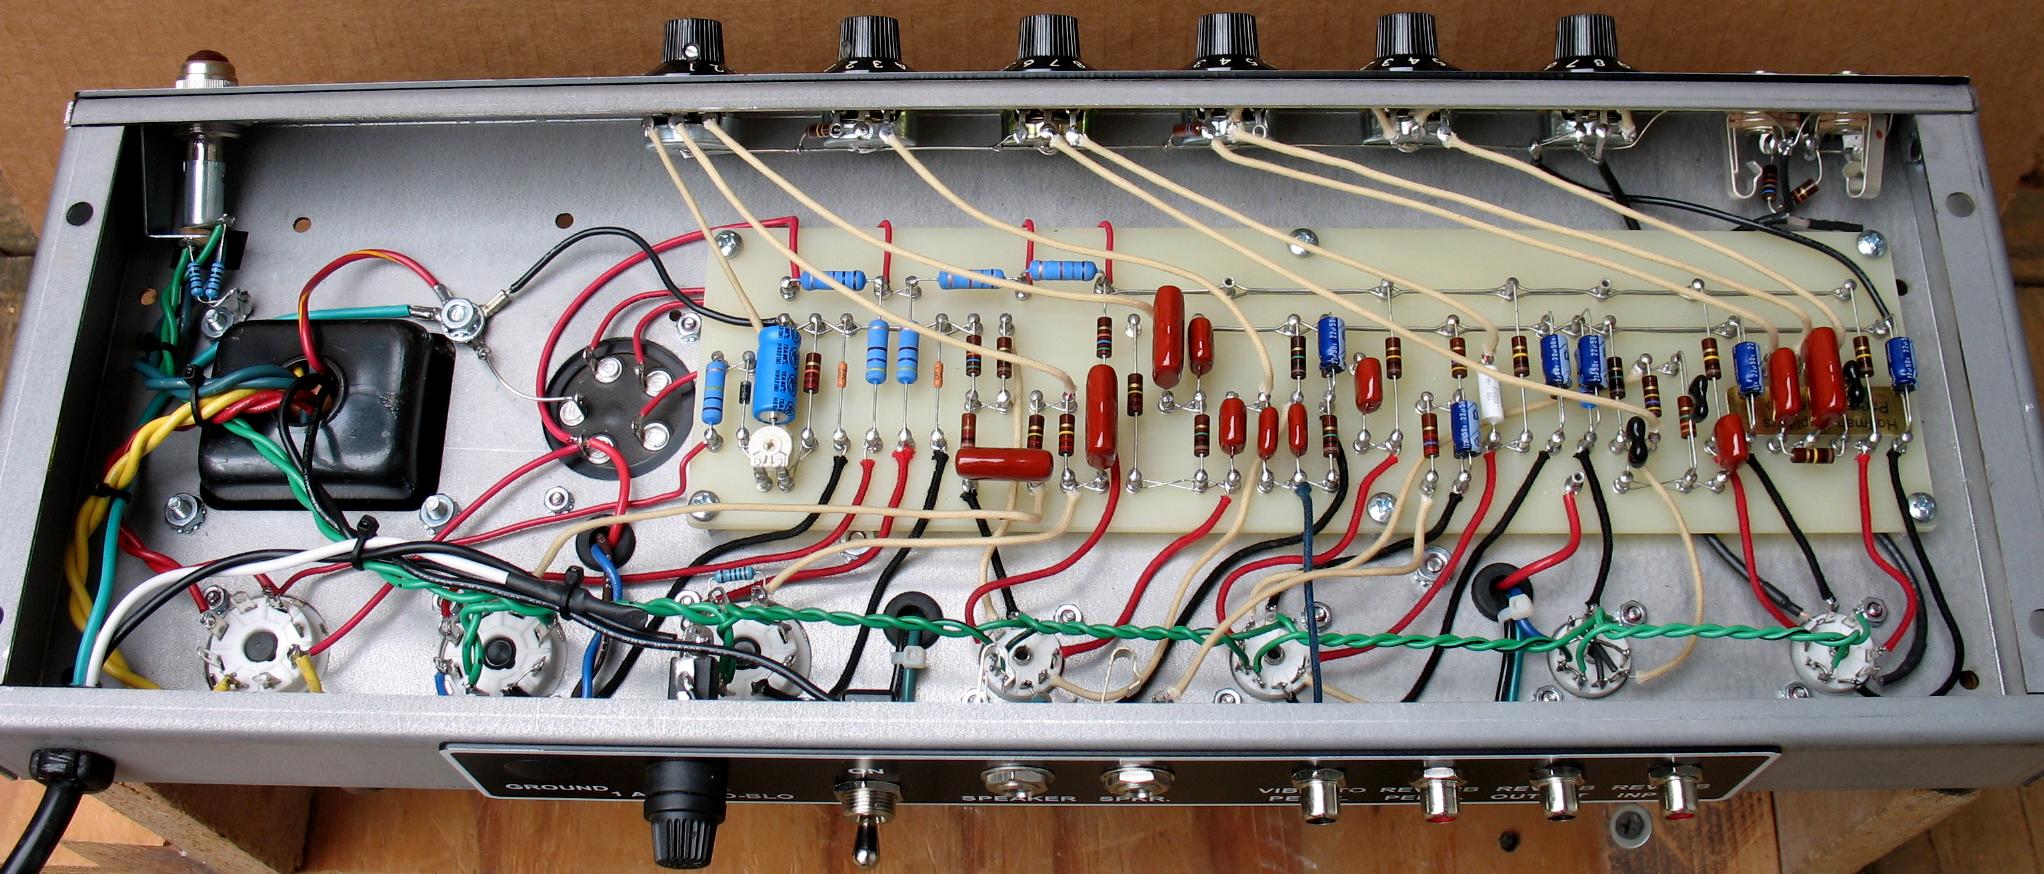
| The components have been installed |
|
| - | |
| Click on the images to see a larger image | |
 |
|
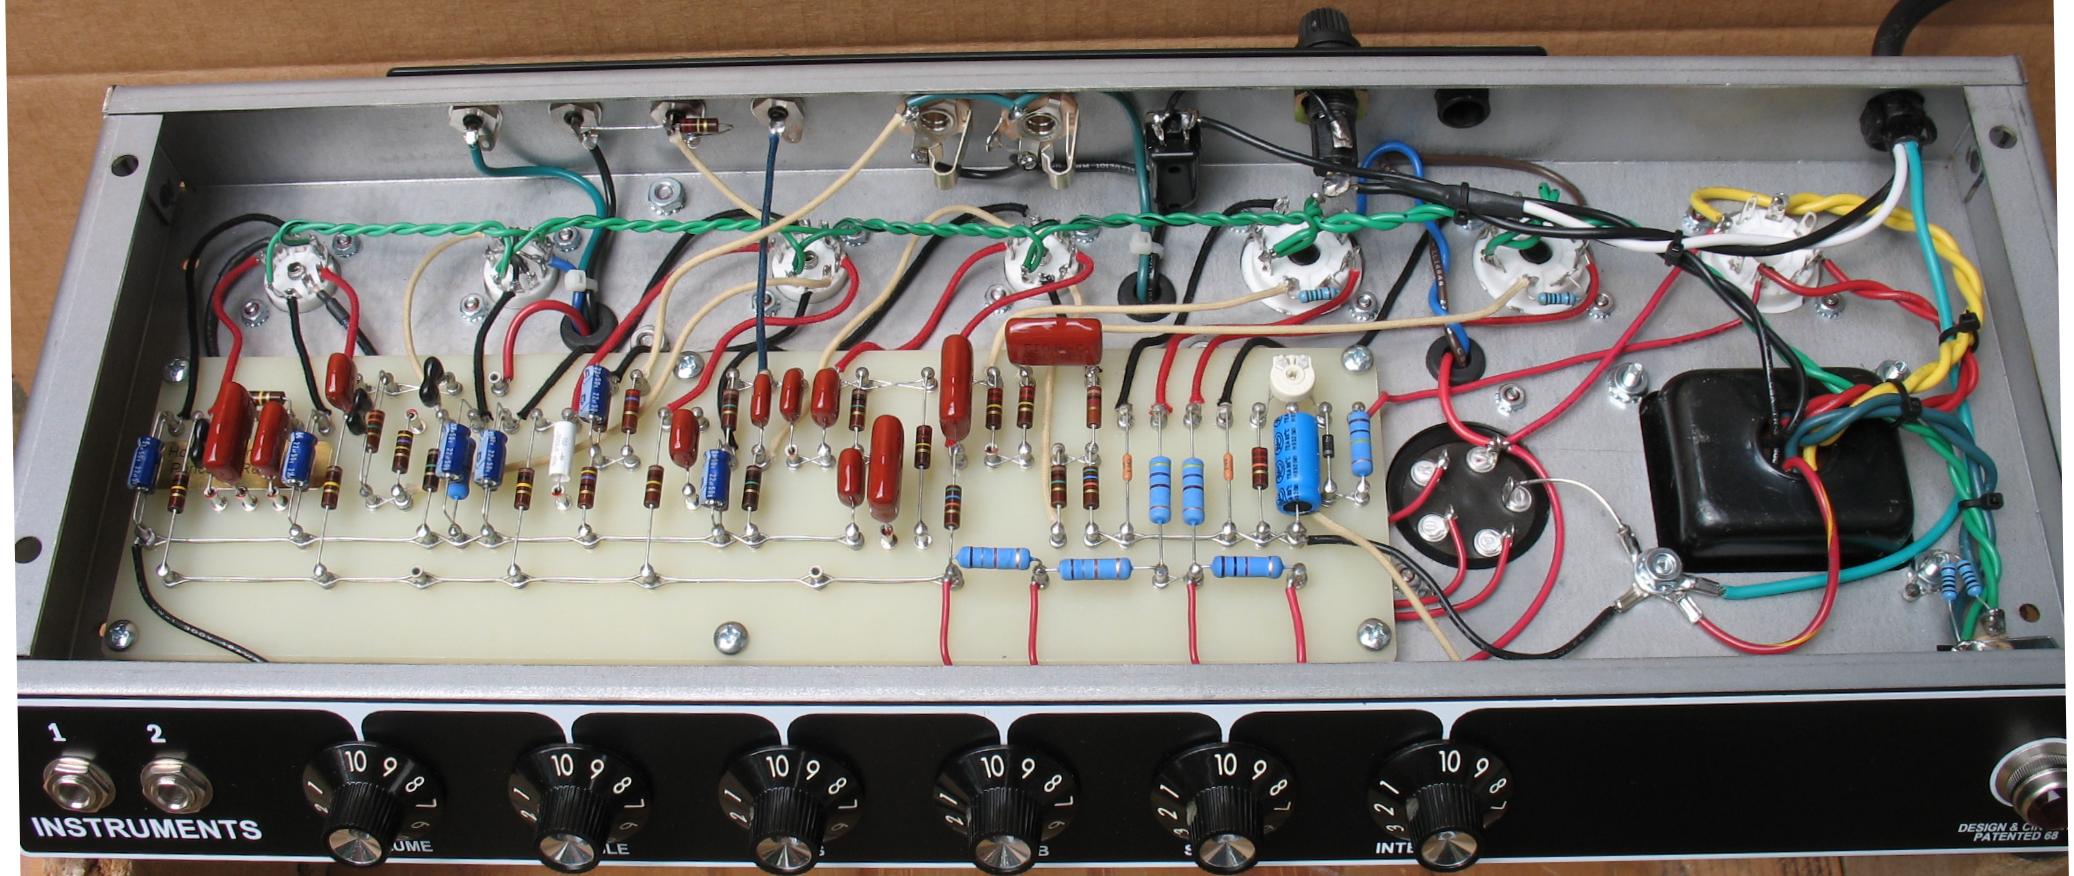
| The components have been installed |
|
| - | |
| Click on the images to see a larger image | |
 |
|
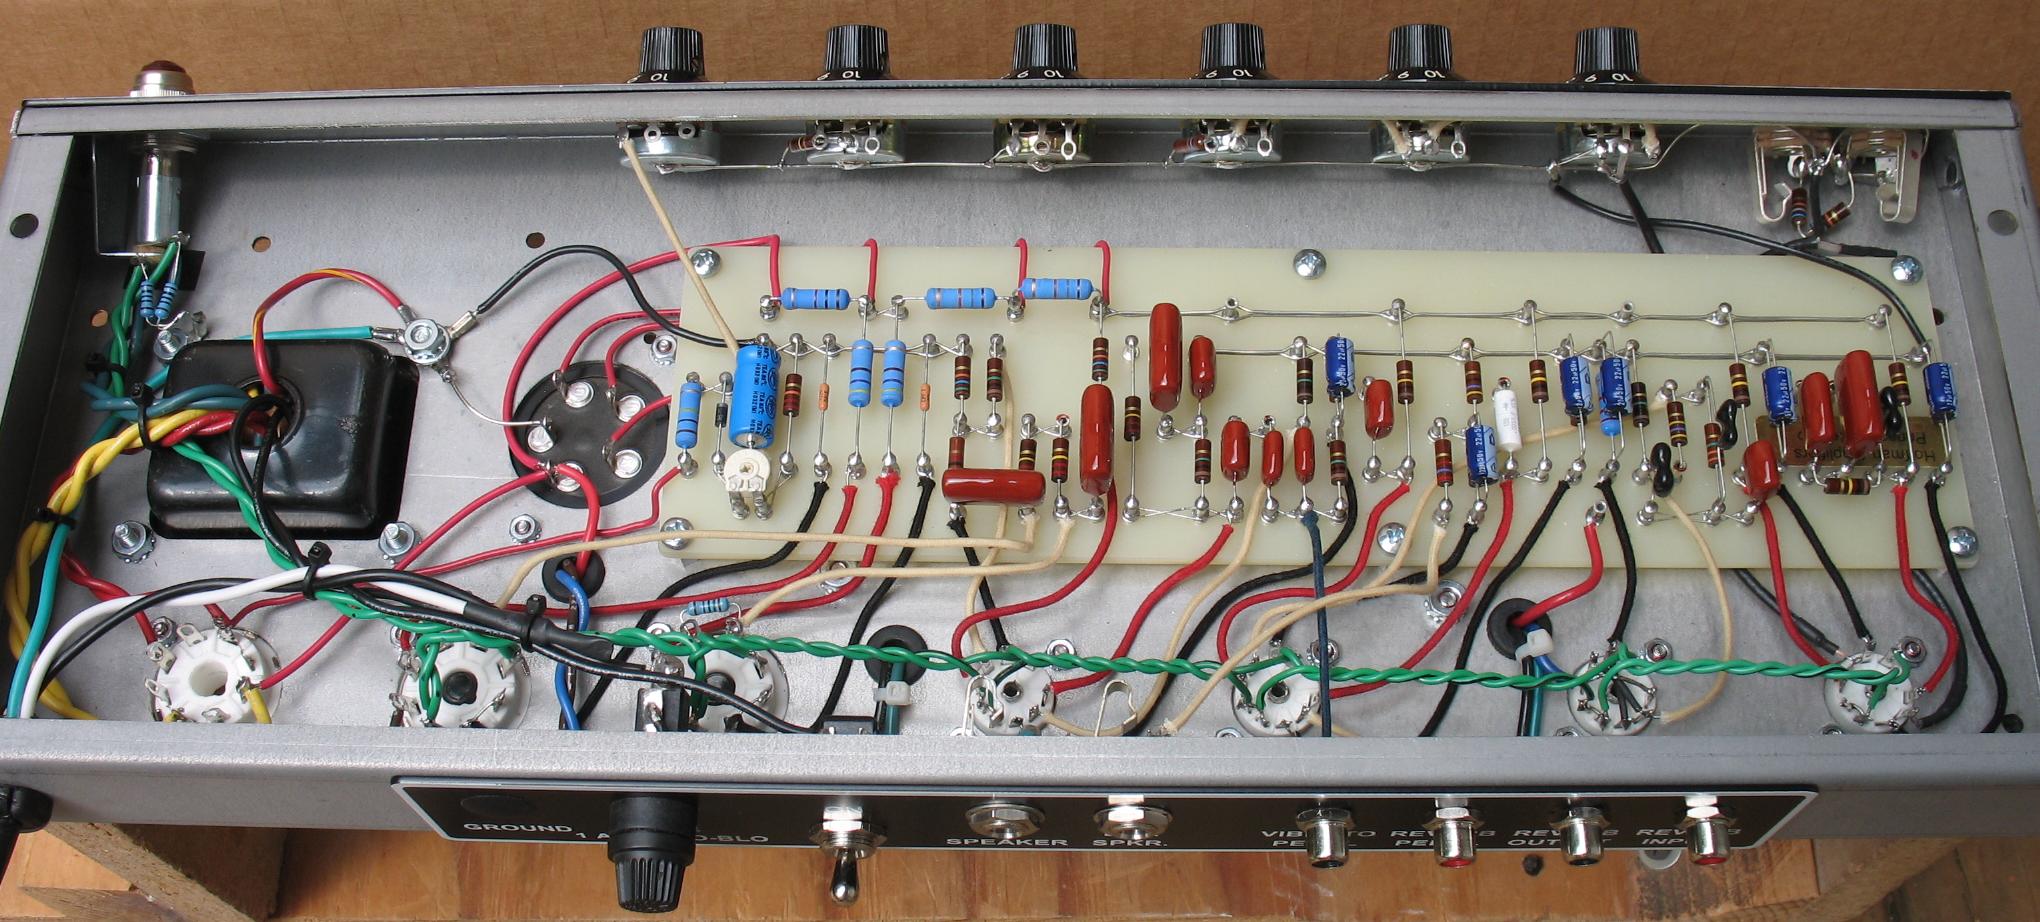
| All done and ready to be fired up for the first time |
|
| - | |
| Click on the images to see a larger image | |
 |
|
| Finished the pot wiring and fired it up Biased the EH 6V6's at 30ma as a general bias current for my first test Plugged it into a Marshal 4x12 cabinet set at 8 ohms It sounds great |
|
| - | |
Enter My Tube Amp Parts Store Here
Mobile users Enter My Tube Amp Parts Store Here
The Tube amp Library of information
Click the link above for Tube amp info, Schematics, Board building information, Projects, Mods, Transformer diagrams, Photo's, Sound clips.
There are hundreds of pages of Tube amp information on my library page.
Please visit my Tube Amplifier Forum
Here's the place you can go to ask tube amplifier questions.
You will find a large community of friendly amp builders at the link above.
Check the huge library of Schematics here
Design your own custom Turret Board or Eyelet board
DIY Layout Creator file analyzer program
DIY Layout Creator file library
How to email me
|
MEMBER OF PROJECT HONEY POT Spam Harvester Protection Network provided by Unspam |